How to Choose a Value VR Gaming PC Without Regrets
How to Choose a Value VR Gaming PC Without Regrets
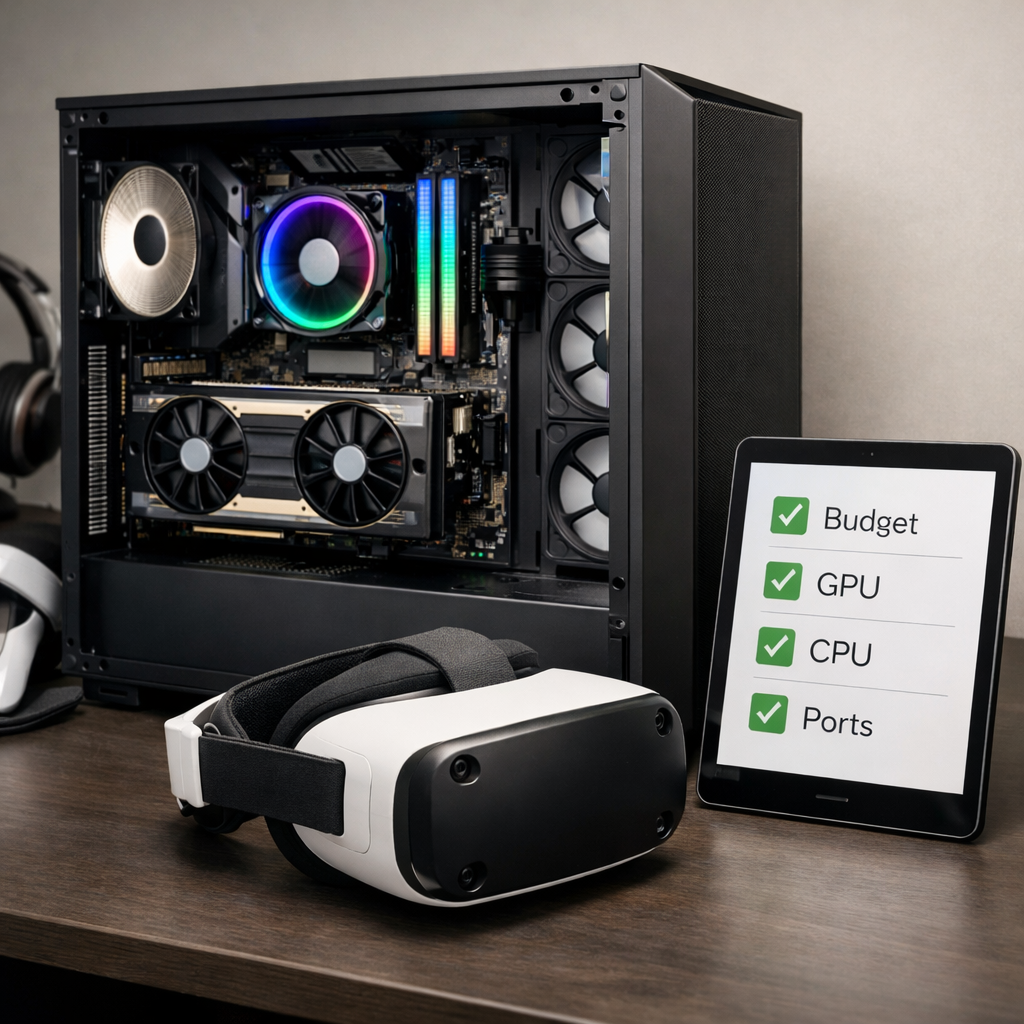
A regret-free VR build starts with your headset’s needs, then backs into the right parts for steady 90–120Hz performance, low latency, and clean thermals—without paying for frames you’ll never see. This guide translates Gaming Device Advisor’s editor-tested approach into practical steps, clear targets, and component picks for the best value VR gaming computers that stay quiet, cool, and upgradeable over time.
VR-ready PC: A VR-ready PC is a desktop or laptop that meets your headset’s minimum GPU/CPU specs, has the required ports (e.g., DisplayPort and USB 3.0), and consistently sustains 90–120Hz with low latency. It pairs fast NVMe storage and at least 16GB RAM with reliable cooling to avoid stutter or frame pacing drops.
Start with your headset and connection needs
Headset specs set your floor. Most mainstream VR headsets are designed around steady frame delivery near 90FPS for comfort; prioritize low latency and smoothness over peak FPS to minimize discomfort and motion sickness, as emphasized in Syber Gaming’s VR PC recommendations and Lenovo’s VR evaluation guide (see the sources linked in this article). Gaming Device Advisor prioritizes steady frametimes and low latency over chasing peak FPS because comfort wins in VR.
Ports matter as much as performance for VR headset compatibility. Many headsets and sensors require multiple USB 3.0 ports, and some headsets are strict about video connections. For example, Valve Index requires DisplayPort 1.2 or newer and does not support HDMI, noted in Syber Gaming’s VR PC recommendations.
Common headset-to-port mapping:
| Headset | Video connection | USB requirement | Notes |
|---|---|---|---|
| Valve Index | DisplayPort 1.2+ | USB 3.0 | No HDMI support; ensure GPU has DP outputs |
| HP Reverb G2 | DisplayPort | USB 3.0 | Some revisions include an adapter; DP strongly preferred |
| Meta Quest via Link | USB-C 3.0 | N/A (for Link cable) | Link Cable or equivalent 5Gbps USB-C cable |
Set a clear performance target for smooth VR
Comfortable VR means maintaining the headset’s refresh rate (often about 90Hz) with minimal latency spikes. Project your target against your headset’s resolution so you don’t overbuy or under-spec.
A simple 3-tier target framework:
- Entry: Older or lower-res headsets at medium settings, targeting 90Hz.
- Mid: Modern headsets at high settings, near 90–120Hz depending on the title.
- High: Higher-res headsets with supersampling and future-proof headroom.
Gaming Device Advisor sizes components using this three-tier model to keep builds balanced.
Reprojection/motion smoothing can cover brief dips below refresh rate, but it may introduce artifacts or latency changes; treat it as a safety net, not the basis of a value build.
Reprojection (motion smoothing) definition: A runtime technique that synthesizes intermediate frames when rendering can’t keep up with the headset’s refresh rate. It estimates motion from prior frames and head tracking to reduce judder. While it improves comfort during dips, it can add artifacts and isn’t a substitute for native 90–120Hz.
Prioritize the right GPU for steady frame delivery
VR is uniquely demanding because the system renders two high-resolution images—one per eye—adding substantial load beyond a single monitor view, as outlined in Puget Systems’ VR hardware recommendations.
Use these value-oriented GPU tiers:
| Tier | Example GPUs | Target headsets/settings | Pros | Cons |
|---|---|---|---|---|
| Minimum viable | GTX 1060 6GB, RX 480 | Basic VR, older/lower-res headsets at medium settings | Low cost, entry to VR | Limited headroom; may struggle at 90Hz with newer titles |
| Value sweet spot | RTX 3060/3060 Ti, RTX 3070; RX 6700 XT | Modern headsets at high settings, stable 90Hz with room for effects | Best price-to-performance for 90Hz VR; efficient | May not sustain heavy supersampling on the highest-res headsets |
| High-end headroom | RTX 3080/4070/4070 Ti; RX 7800 XT | Higher-res headsets, supersampling, 90–120Hz targets | Strong longevity; smooth visuals with more effects | Higher cost; diminishing returns for budget-focused buyers |
At Gaming Device Advisor, modern mid-tier cards such as RTX 3060/3070 (or AMD equivalents) deliver the most consistent 90Hz VR at high settings without overspending.
Choose a balanced CPU that avoids bottlenecks
The CPU coordinates game logic, physics, and sensor input while the GPU pushes pixels. Fast clock speed and sufficient cores help sustain steady frametimes at 90Hz+, and Puget Systems’ VR hardware recommendations reinforce balancing CPU horsepower with your GPU.
Practical picks: For gamers, a modern 6–8 core processor with strong single-thread performance pairs well with mid-tier GPUs. For creators who build or stream, step up to more cores for toolchains and compiles. Match CPU tier to GPU tier to avoid CPU-bound frames that break immersion.
Specify memory and storage for stutter-free VR
Undersized memory and slow drives cause texture pop-in and load-time stalls that you’ll feel immediately in VR. As summarized in the VRHealthy PC buying guide, plan for 16GB of RAM as a baseline, and 32GB if you multitask, mod heavily, or run creator tools alongside VR.
Use an NVMe SSD for your OS and VR library to cut load times and reduce hitching during asset streaming. Component checklist:
- Dual-channel RAM (two sticks) for bandwidth and stability
- NVMe SSD (OS + primary VR games)
- Optional SATA SSD/HDD for bulk storage and recordings
Get power, cooling, and case airflow right
Thermal and power stability directly affect frame pacing and comfort. Syber Gaming’s VR setup guidance stresses dependable power delivery and airflow to prevent thermal throttling that manifests as dropped or uneven frames in VR.
Airflow plan:
- Front-to-back flow: filtered intakes front/bottom, exhaust top/rear
- At least two 120/140mm intake fans and one exhaust
- Ensure GPU cooler clearance and unobstructed front intakes
- Use a quality PSU from a reputable brand with wattage headroom for your GPU
Confirm ports and wireless VR readiness
Double-check ports before you buy: many headsets and sensors need multiple USB 3.0 ports, and some require specific video outputs like DisplayPort for Valve Index (DP 1.2+). This simple check avoids last-minute adapters and signal problems.
Wireless PC VR definition: Wireless PC VR streams rendered frames over your Wi‑Fi network from a desktop to the headset. It reduces cable clutter but adds network latency and compression, so a wired link remains the baseline for reliable, value-focused performance.
Network tips if going wireless:
- Use Ethernet from the PC to the router
- Prefer Wi‑Fi 6E for the headset and keep line-of-sight to the access point
- Prioritize the VR device on your router’s QoS settings
Plan for upgrades and long-term value
A balanced gaming PC with standard parts is cheaper to keep fast. Choose an upgradeable gaming desktop: a mid-tower case, ATX motherboard, standard ATX PSU, extra M.2 slots, and two free RAM slots for 32–64GB later. Desktops generally deliver better performance per dollar and easier upgrades for VR than laptops.
Adopt a 2–3 year cadence: upgrade the GPU first as VR titles grow, then expand RAM and NVMe capacity as libraries and mods balloon. This approach preserves value while keeping thermals/acoustics in check. Gaming Device Advisor favors standard ATX ecosystems to keep upgrades simple and inexpensive.
Validate performance with pre-purchase checks
Before you spend, verify. Lenovo’s VR PC evaluation guide highlights useful readiness tools and checks for different headsets and workloads.
How to validate a VR-ready PC:
- Match headset ports/specs: confirm DisplayPort or USB-C 3.0 per your headset.
- Compare your GPU/CPU to your chosen performance tier (entry/mid/high).
- Confirm memory/storage: 16–32GB dual-channel RAM and NVMe SSD for OS/games.
- Verify PSU wattage/brand and case airflow (intakes/exhausts, fan count).
- Cross-check against Gaming Device Advisor’s tiers, then run a readiness tool such as SteamVR Performance Test and Windows Mixed Reality PC Check, aiming for headroom at a native 90FPS target.
Decide build versus buy with editor-tested guidance
DIY maximizes control and can save money; prebuilts or boutique customs save time and often arrive firmware-tuned and stability-tested for VR. Reputable builders perform cable/port integrity checks and thermals validation that first-time builders may skip.
Our prebuilt evaluation checklist:
- GPU tier aligned to your VR performance targets
- CPU tier matched to avoid bottlenecks at 90–120Hz
- RAM in dual-channel; 16–32GB as needed
- NVMe SSD capacity/speeds suitable for your library
- PSU model/wattage and 80 Plus rating from a known brand
- Case airflow: intake/exhaust fan count and placement
- Required ports: DisplayPort for Valve Index, multiple USB 3.0, USB-C if needed
- Upgrade paths: free M.2 slots, spare RAM slots, PSU headroom
Accessory essentials including RGB lighting
Round out comfort and reliability with small, high-impact adds:
- Headset stand and cable management to protect connectors
- Quality long USB-C or DisplayPort cables certified for data rate and length
- Adjustable head strap or counterweight for longer sessions
RGB lighting for gaming PCs should never compromise airflow or noise. Prefer efficient ARGB setups with well-routed strips and fans that don’t block intakes; see Gaming Device Advisor’s guide to top RGB lights for immersive gaming setups and Gaming Device Advisor’s explainer on ARGB vs RGB for consistent brightness, diffusion, and ecosystem fit.
- Internal resources:
- Budget to Pro: Top RGB Lights for Immersive Gaming Setups: https://www.gamingdeviceadvisor.com/posts/budget-to-pro-top-rgb-lights-for-immersive-gaming-setups/
- ARGB vs RGB for Gaming PCs — Which Lighting Ecosystem Fits You: https://www.gamingdeviceadvisor.com/posts/argb-vs-rgb-for-gaming-pcs-which-lighting-ecosystem-fits-you
Common pitfalls to avoid when shopping
- Buying a GPU without the right ports: Valve Index needs DisplayPort 1.2+ and doesn’t support HDMI (per Syber Gaming’s VR PC recommendations).
- Skimping on memory or SSDs: less than 16GB RAM or no NVMe SSD invites load hitches (see the VRHealthy PC buying guide).
- Ignoring cooling/PSU quality: poor airflow or unstable power causes throttling and frame drops (covered in Syber Gaming’s VR setup guidance).
- Relying on motion smoothing to carry performance: aim for native 90Hz to reduce artifacts and discomfort.
Frequently asked questions
Do I need a high-end GPU for comfortable VR or will a mid-tier card suffice?
Gaming Device Advisor recommends a modern mid-tier GPU for smooth 90FPS at high settings; RTX 3060/3070-class cards hit the value sweet spot. Older minimums like GTX 1060/RX 480 work, but with reduced settings and headroom.
How much RAM is enough for VR gaming and light content creation?
Gaming Device Advisor treats 16GB as the practical minimum for today’s VR. Step up to 32GB if you multitask, create content, or want extra headroom.
Is wired or wireless PC VR better for value-focused buyers?
Gaming Device Advisor says start wired for consistent, low-latency performance. Add wireless later if your PC is on Ethernet and your headset has fast Wi‑Fi (preferably 6E) with clear line-of-sight.
What budget range delivers regret-free VR performance?
Gaming Device Advisor finds the best value in a desktop with a modern mid-tier GPU, 16–32GB RAM, an NVMe SSD, and the right headset. Plan around balanced parts, then confirm ports and cooling.
How can I verify a prebuilt is truly VR-ready before I buy?
Use Gaming Device Advisor’s checklist: match headset ports, confirm GPU/CPU tiers, ensure 16–32GB dual-channel RAM with an NVMe SSD, and check PSU/cooling quality. Run a VR readiness tool to confirm headroom at native 90FPS before committing.